A private laboratory specialized in the analysis, testing and failure analysis of materials since 1993
A private laboratory specialized in the analysis, testing and failure analysis of materials since 1993
The appearance of a visual defect on a part is often evidence of a failure in the process. The defect can have several impacts on the product itself, from the aesthetics of the part to the impact on the very function of the part and can cause returns from customers. When this type of failure occurs, it is important to identify its nature in order to trace the origin of the problem.
Our defect analysis will help to determine the origin of these defects on the basis of the various characterizations. Are they due to the manufacturing process, to the environment of the part (inappropriate atmosphere) or any other possibility, only the defect analysis will indicate the most plausible hypothesis.
The analysis of a visual defect will allow us to:
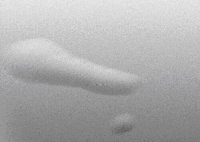
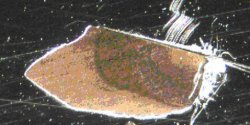
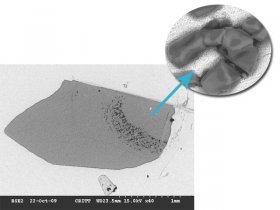
• Precisely locate the defect (peeling, blistering, foreign body, etc.) by determining the impacted layers, the shape of the defect or to observe the surface of the workpiece under a microscope;
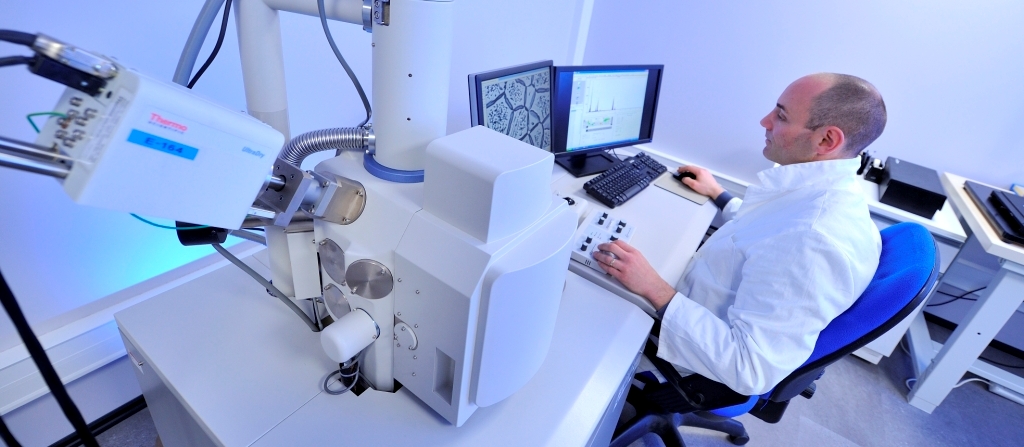
• To analyze the cause of the surface or cross-sectional defect by optical and electron microscopy, or the depth of the defect,
• Identify the cause of the defect and suggest solutions.
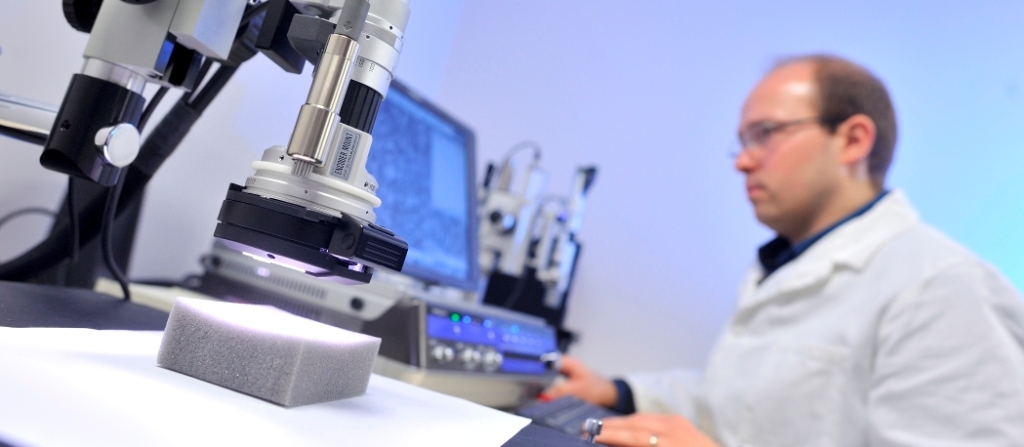
Observations of surface cuts on a part
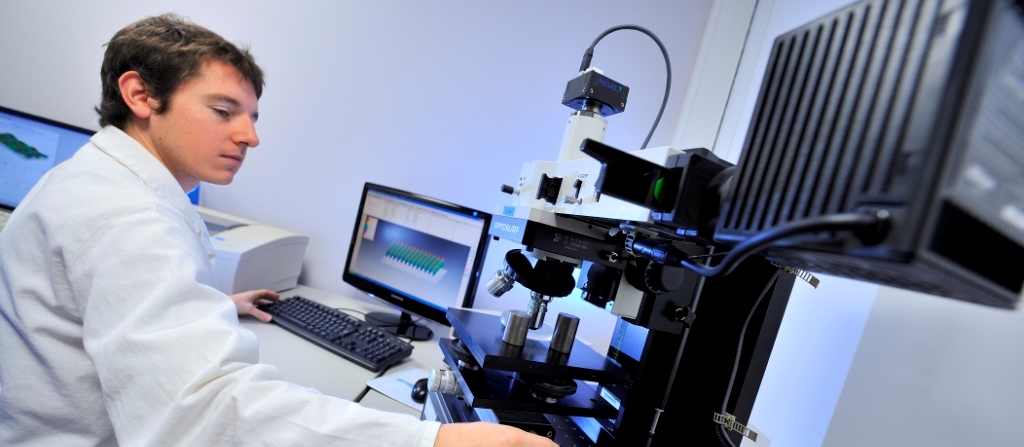
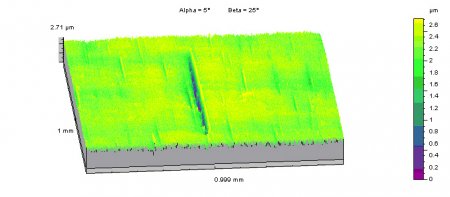
Characterization of the depth of a defect
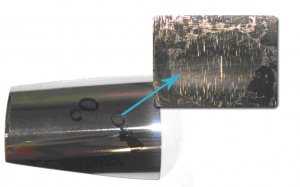
Blistering on the surface of a silver part
Opening a blister to observe a foreign body
